


 (+86)-137 5851 1881



Content
An air brake chamber leaking is not a minor air loss that can wait for the next service interval. The chamber converts air pressure into pushrod force, so a torn diaphragm, failed seal, or cracked housing can reduce braking force, keep spring brakes from releasing cleanly, and make the compressor run constantly. If the leak is heavy or the pushrod stroke is already out of adjustment, park the vehicle in a safe place, chock the wheels, and treat the system as unsafe until it is diagnosed.
The practical conclusion: find the leak source before buying a chamber or turning the slack adjuster. A new chamber will not fix a contaminated air system, a bent pushrod, or a worn adjuster, and adjusting away a leak only hides the symptom.
A leak at the clamp band, pushrod seal, inlet fitting, or spring-brake housing points to different repair paths. Use clean soapy water or an ultrasonic leak detector with the system charged and the brakes applied and released, following the manufacturer's safety procedure.
| Leak point | Typical cause | First check |
|---|---|---|
| Diaphragm joint or clamp band | Loose clamp, damaged diaphragm, corrosion | Replace distorted bands and chambers; do not rely on retightening. |
| Pushrod seal or center hole | Worn seal, bent pushrod, misalignment | Check pushrod alignment; replace the chamber if the seal is damaged. |
| Air inlet fitting or hose | Loose fitting, damaged thread, failed sealant | Leak-test the fitting with soapy water; repair the thread without overtorque. |
| Spring-brake housing or breathing hole | Internal spring-brake seal failure | Treat as major; replace the chamber and do not open the spring housing. |
Leak location is a guide, not a diagnosis; confirm with a pressure-drop test and visual inspection.
Work from the safest check to the most invasive. The goal is to prove whether the chamber, the plumbing, or the adjustment is at fault.
A small chamber leak can keep the compressor cycling and leave spring brakes slow to release; a heavy leak can trigger low-pressure warnings before the vehicle leaves the yard.
Do not judge a leak by sound alone. Some diaphragm failures are quiet at idle and only open when the service brake is applied. Others leak only when the parking brake is released, which is why a single listening check can miss the fault. A pressure-drop test, a soap check at both brake states, and a pushrod-stroke measurement give a more reliable answer.
If the compressor runs more often, the dryer cycles more, or the low-pressure warning appears at idle, stop using the vehicle as a parts test. Those symptoms point to a system-level air loss that needs a proper leak-down check.
Replace the chamber when the housing is cracked, the clamp band is distorted, the diaphragm is contaminated with oil or water, or the spring-brake section has failed. Repair kits can be appropriate only for a sound housing and a confirmed diaphragm or seal fault, and only with the correct kit and procedure.
For a spring brake chamber, do not open the spring housing. The spring stores enough energy to cause serious injury. Cage or lock the spring brake per the OEM method, or replace the complete chamber. A rebuilt unit with mismatched stroke, port position, or service type can create brake imbalance and release problems.
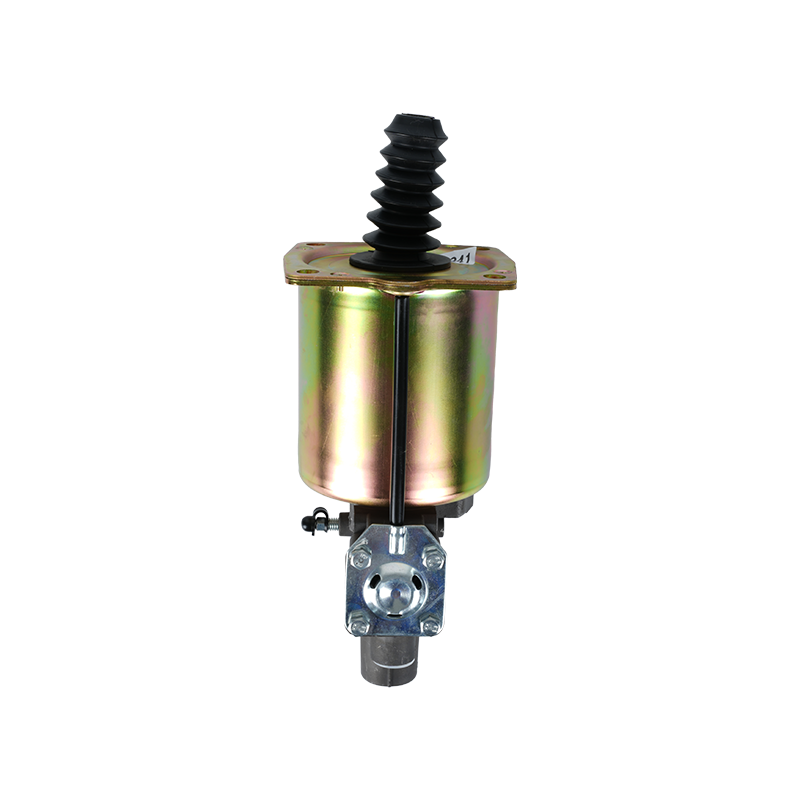
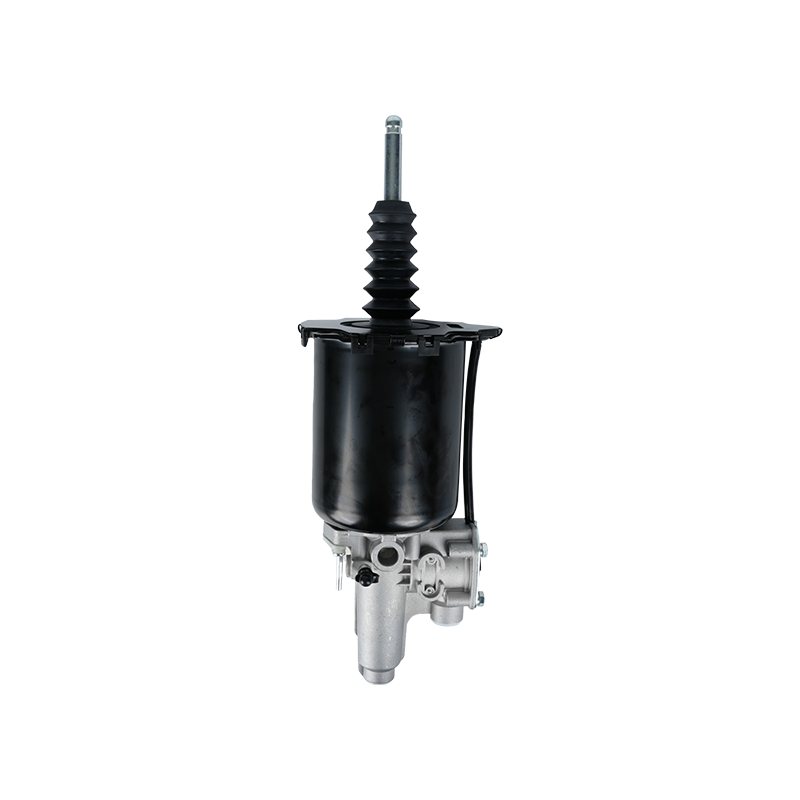
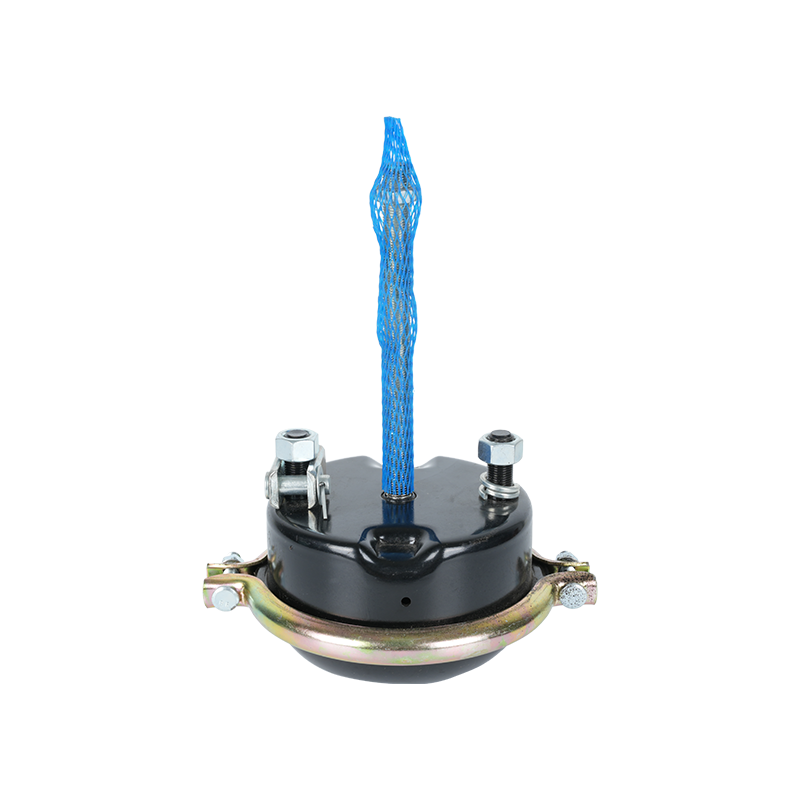
If the existing chamber is beyond a safe repair, specify a replacement by service type, stroke, port orientation, pushrod length, and mounting. A commercial-vehicle brake chamber such as the brake chamber range from Zhuji Tianbo Auto Parts can be matched to the application, but the fitment data and OEM specification still control the final choice.
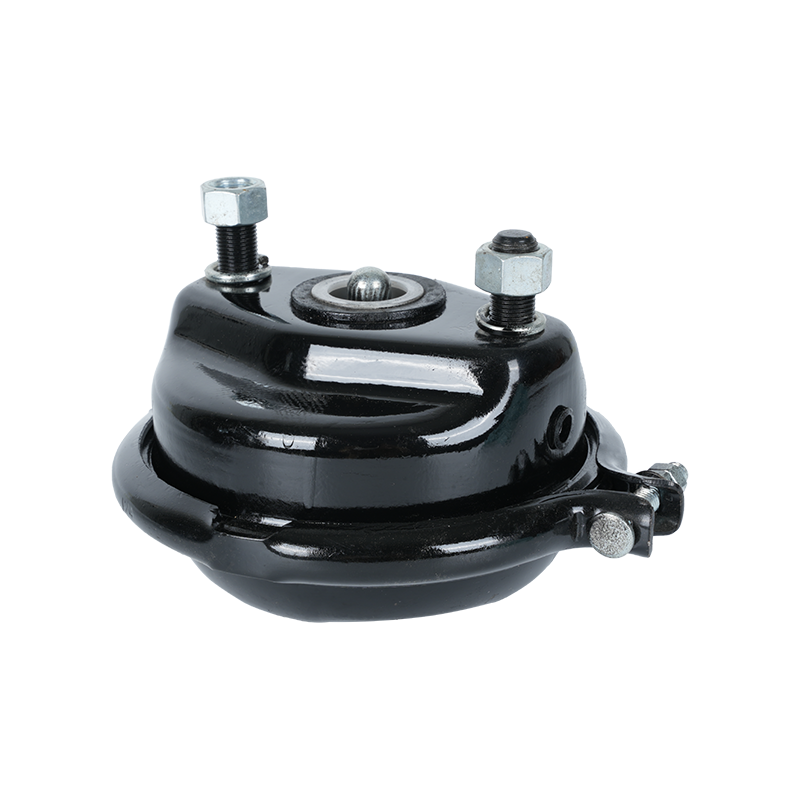 Brake Chamber Range for Heavy-Duty Truck and Trailer SystemsExplore brake chamber options for heavy-duty trucks and trailers; match service type, stroke, port orientation, pushrod length, and mounting to the application.View Product →
Do not use a higher-pressure test to prove a new chamber. Use the vehicle manufacturer's leak-down procedure and confirm that the pushrod returns without binding.
Most repeat chamber failures come from a missed system fault or a rushed installation, not from the chamber alone. The table below separates the mistake from the practical correction.
| Mistake | Why it matters | Better choice |
|---|---|---|
| Using bare hands to search for a leak | Moving linkage and high-pressure air can cause injury | Chock wheels, isolate air, use soapy water or an ultrasonic detector |
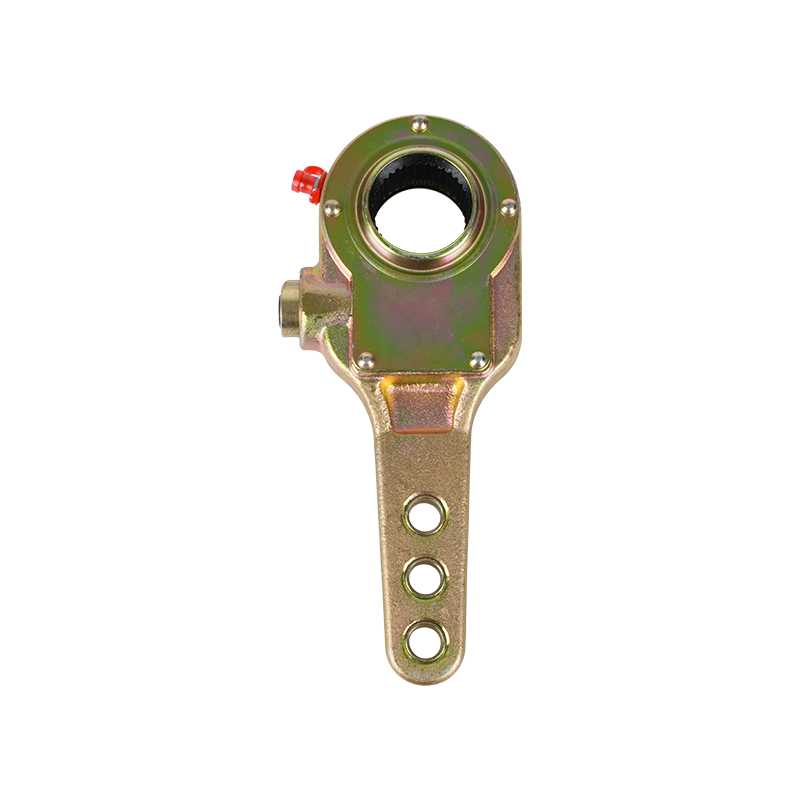
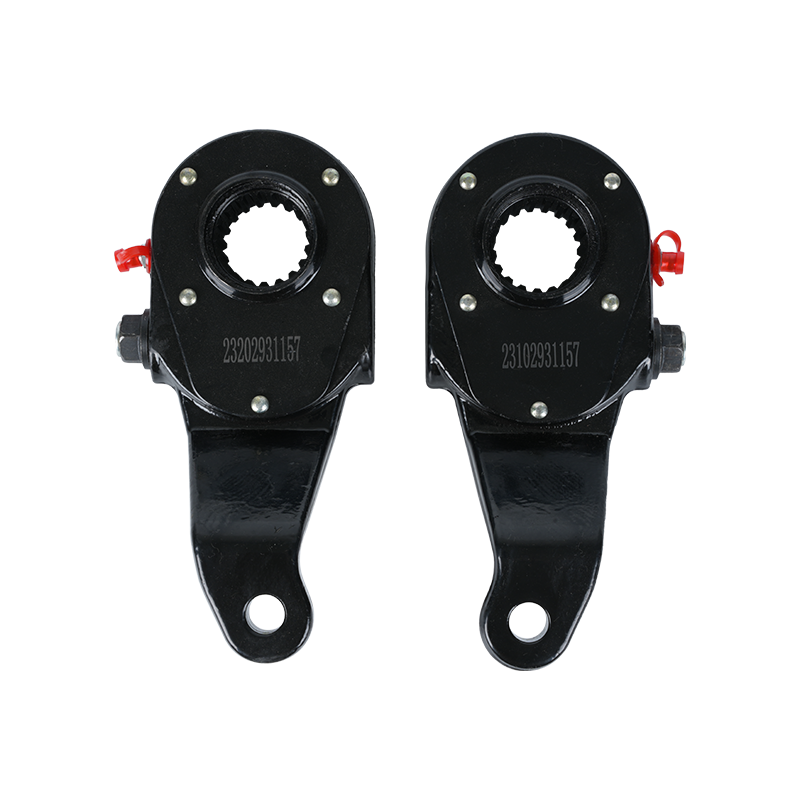
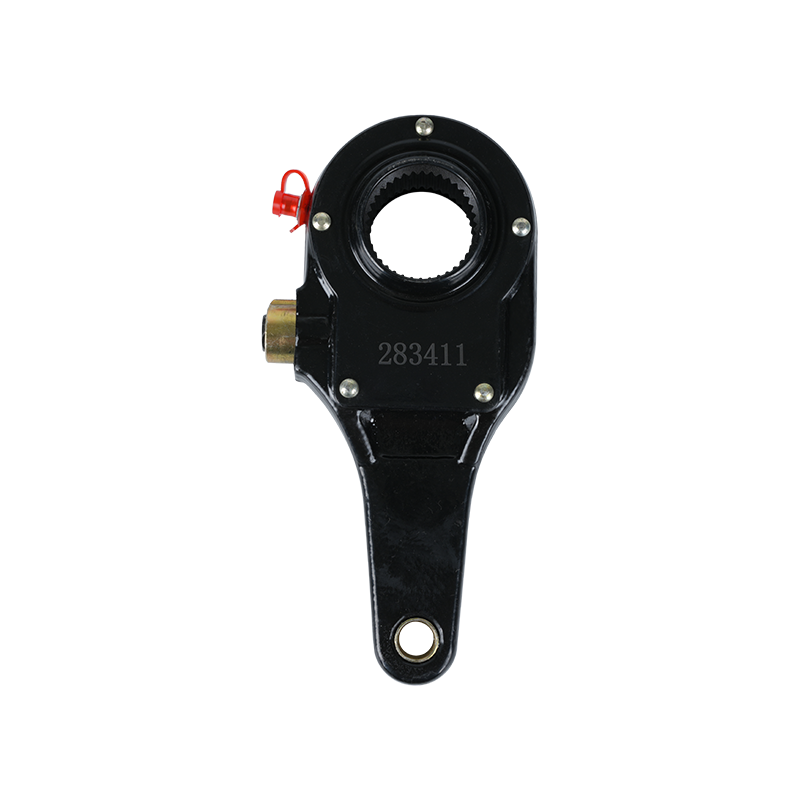
| Replacing the chamber without checking pushrod stroke | A new chamber can be blamed for an adjustment fault | Reset the slack adjuster to OEM spec and verify stroke |
| Reusing a clamp band or fitting the wrong chamber type | The leak can return, or brake balance can change | Match service type, stroke, port position, and replace damaged hardware |
| Ignoring moisture, oil, or a tired air dryer | A new diaphragm can fail early | Service the dryer, drain tanks, and correct contamination |
A chamber that passes a static leak test can still fail a stroke or release check; always finish with a functional test.
Installation quality decides whether the replacement lasts. These checks are small, but each one prevents a comeback.
Treat every air brake chamber as stored energy. A spring brake chamber contains a mechanical spring, and air pressure can move the pushrod without warning. Wear eye protection, chock the wheels, and never place any part of your body between the pushrod and the brake linkage.
Use the OEM caging or locking procedure before service, and do not loosen clamp bands on a charged chamber. If the housing or spring section is damaged, replace the chamber rather than attempting a field repair. A leak that returns after a repair usually means the root cause, such as moisture, oil carryover, or a worn adjuster, was never corrected.
The safest decision is simple: if an air brake chamber leaking cannot be traced to a fitting or hose, and the chamber is wet, cracked, or slow to release, keep the vehicle out of service until a qualified technician confirms the repair.


 English
 中文简体
 русский
 عربى
