Your right foot is on the brake at a stoplight, and you hear a steady hiss coming from the rear of the truck. After shutting down the engine, the air pressure drops noticeably faster than usual. You suspect a brake chamber leaking air. That suspicion deserves immediate attention because a leaking brake chamber affects the ability to stop, and it can also affect the parking brake release. The good news is that the diagnosis is usually straightforward, and the fix is a clean replacement of the failed component.
A Leaking Brake Chamber Is a Failed Internal Seal
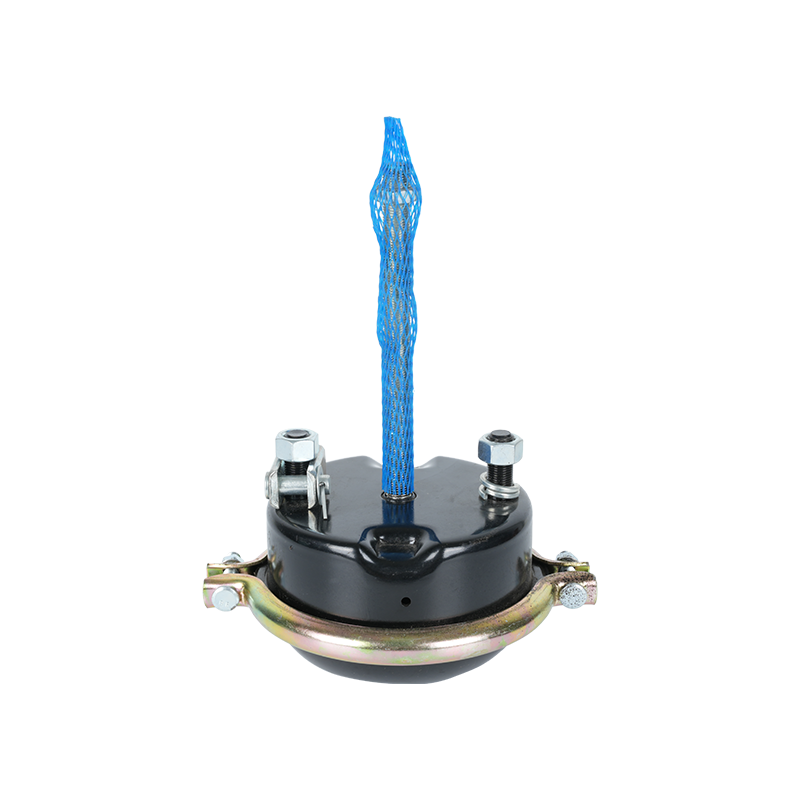
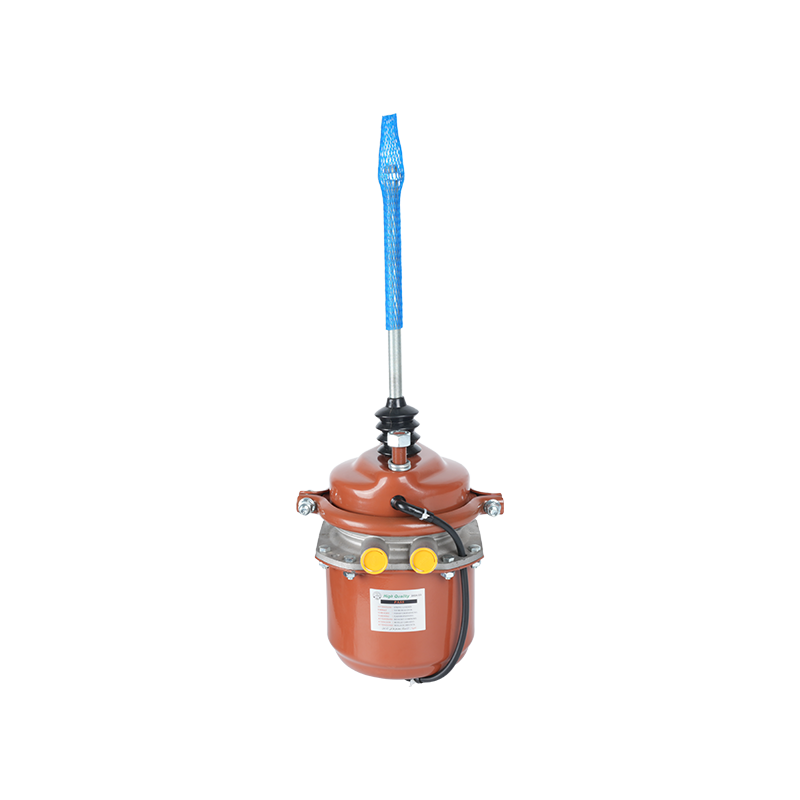
A brake chamber converts compressed air into mechanical force that pushes the slack adjuster and applies the brake. Inside the housing, a rubber diaphragm separates the pressure sections. When that diaphragm tears or develops a pinhole, air escapes from the vent holes at the bottom of the chamber. That is the leak you hear.
The typical cause is age, flex fatigue, moisture intrusion, or a manufacturing defect in the rubber compound. The diaphragm flexes every time you apply the brake, and over millions of cycles it develops a crack. Some fleets also see premature failures when water condensate freezes and expands inside the chamber, or when a broken return spring digs into the rubber.
How to Diagnose a Brake Chamber Air Leak
- 1 Park and secure the vehicle. Chock the wheels and locate the suspect chamber before doing anything else.
- 2 Charge the system, then shut down. With the engine off, build the air system to full pressure, then kill the engine and listen for hissing.
- 3 Read the sound pattern. A continuous hiss even with the service brakes released usually points to the spring side; a hiss that appears only when you apply the foot brake is likely a service-side leak.
- 4 Run the soap-and-water test. Mix a small amount of mild soap with water and spray it on the chamber, checking the clamp band, the inlet fitting, the pushrod opening, and the vent holes at the bottom.
- 5 Read the bubbles. Strong bubbles at one vent hole mean the diaphragm has failed; a frothy pattern around the clamp means the metal housing is no longer sealing.
03
What the Leak Location Tells You
The leak point narrows down the internal failure and determines the correct repair. The table below summarizes the most common leakage positions and what they mean for your next step.
| Leak location |
Typical symptom |
Most likely cause |
Recommended action |
| Service side vent holes |
Hissing while foot brake is applied |
Torn service diaphragm |
Replace the brake chamber |
| Spring side vent holes |
Continuous leak even with parking brake released |
Failed spring diaphragm |
Replace the chamber; cage the spring brake before service |
| Clamp band area |
Bubbles around the housing joint |
Loose or corroded clamp ring |
Retighten to spec; if it still leaks, replace the unit |
| Pushrod opening |
Air escaping near the pushrod |
Worn pushrod seal or damaged guide |
Replace the chamber or rebuild with a genuine seal kit |
Brake chamber leak locations and suggested repair actions
If you find a leak at the pushrod seal, some shops attempt a rebuild. However, for a chamber that has seen hundreds of thousands of miles, a complete replacement is often more reliable because the diaphragm may already be at the end of its life.
What to Do Before Replacing a Brake Chamber
Type 30 chambers deliver up to 2.5 inches of stroke, and long-stroke versions reach 3 inches.
Replacing a leaking brake chamber is not as simple as grabbing the first unit at the parts counter. You need to match the chamber type, stroke length, and port configuration. Heavy-duty trucks commonly use Type 16/20/24 or Type 30 chambers. The correct type affects the application force and whether the spring brake holds the vehicle.
Check the existing label if it is still legible. If not, measure the clamp diameter and note the number of ports. The air inlet size matters too: most chambers use a 3/8-inch or 1/2-inch NPT fitting. Also pay attention to the mounting bracket orientation, because a chamber with the wrong clocking can bind the pushrod and lead to premature failure.
When you are selecting a replacement, look for a chamber that uses a durable diaphragm compound, a robust clamp, and a corrosion-resistant coating. The housing should be able to withstand the moisture, road salt, and vibration common in commercial trucking. A quality replacement will also include the correct spring force ratings for your vehicle's brake system.
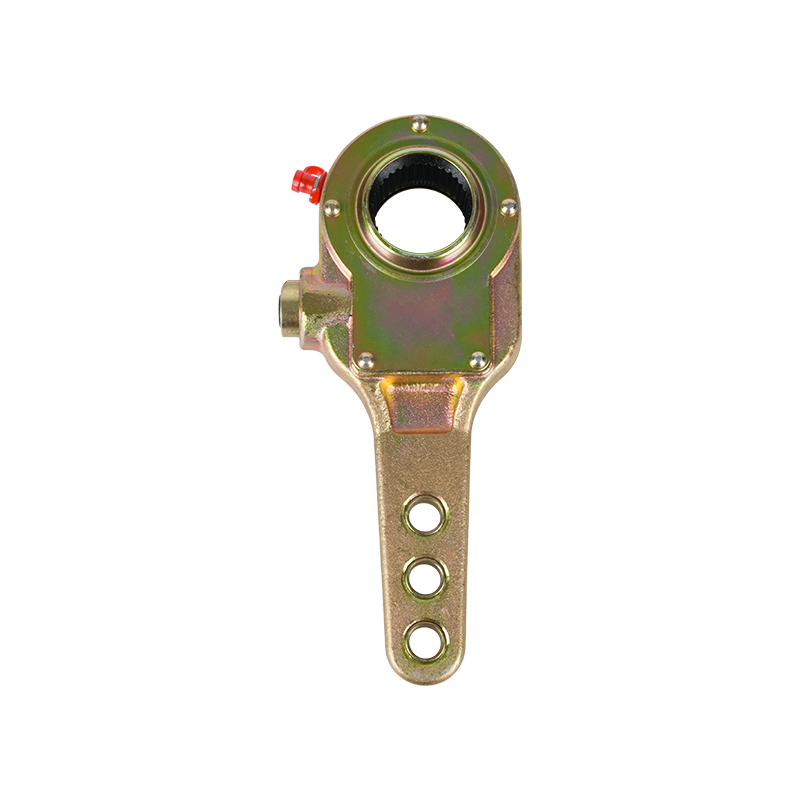
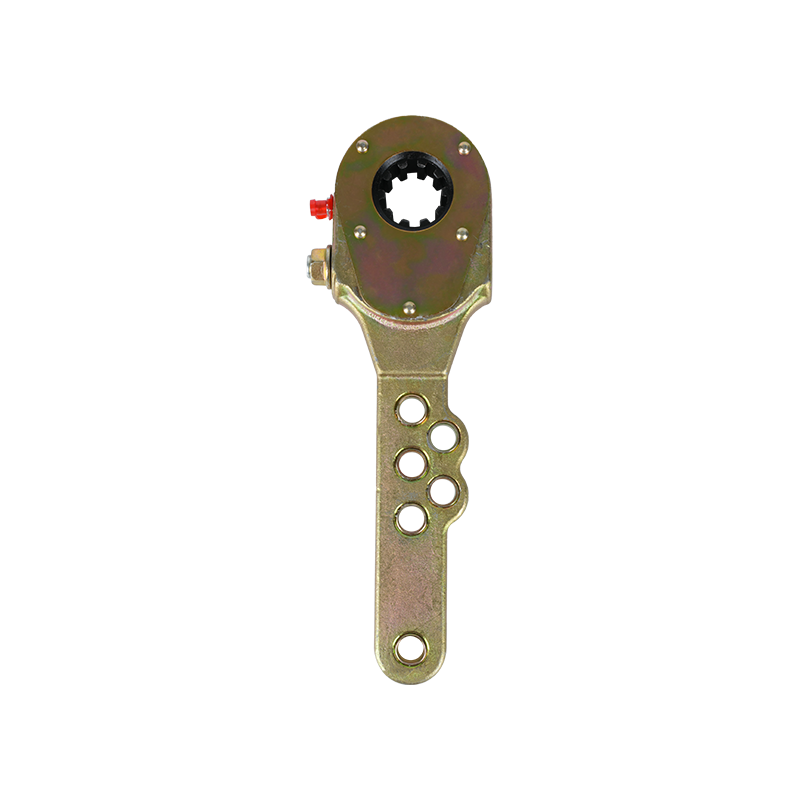
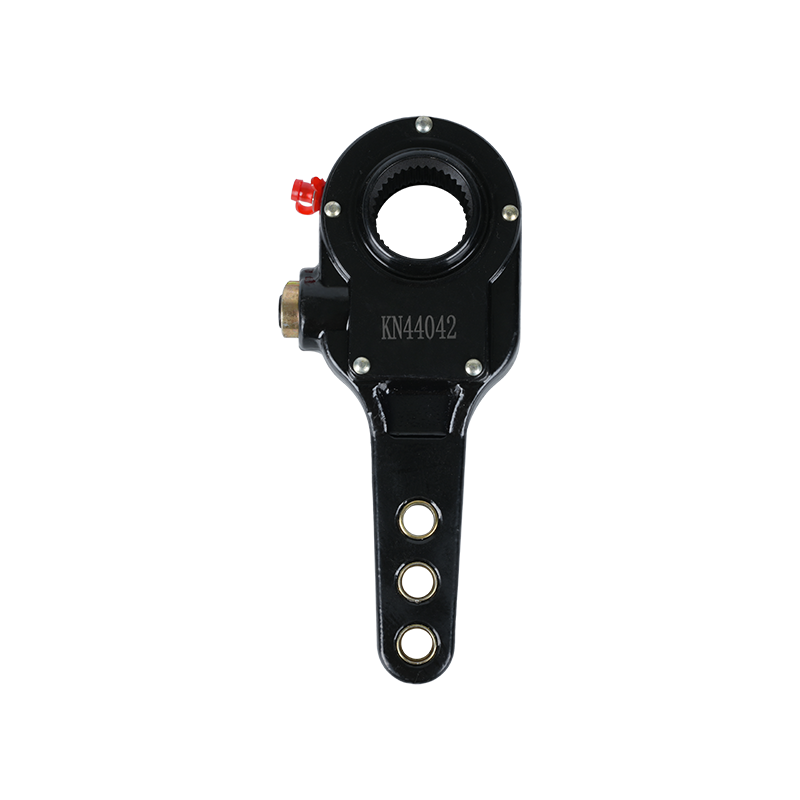
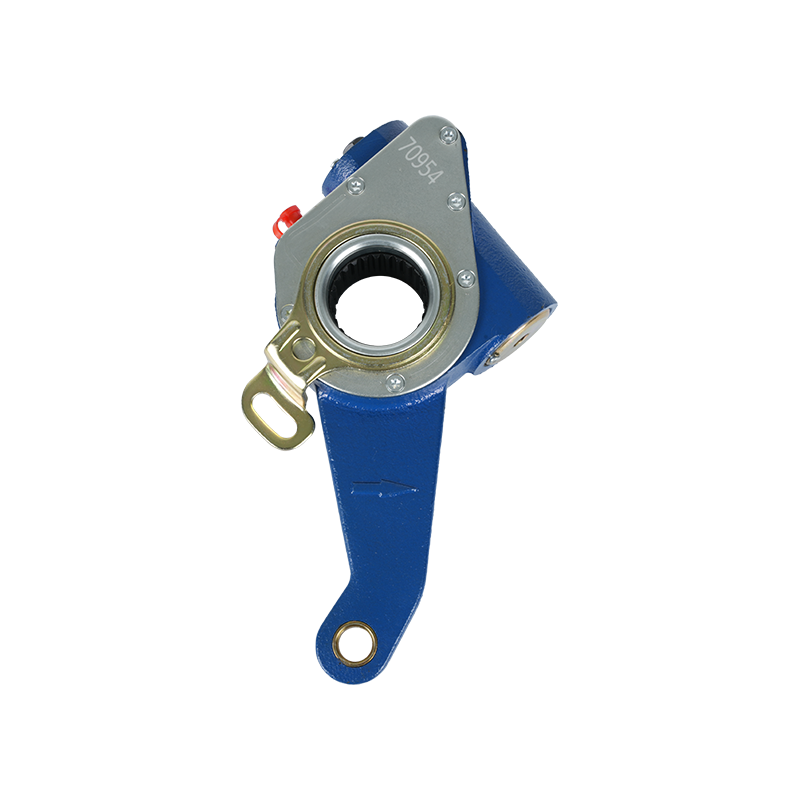
In the same service session, inspect the slack adjuster and the brake hardware. A worn slack adjuster can cause over-travel of the pushrod, which can shorten the life of a new chamber. If you find excessive brake drum clearance or a sticky adjuster, address that issue before you confirm the repair.
Preventing Brake Chamber Leaks on Your Fleet
- Use a soap-and-water solution on the vent holes and clamp area at every service interval, and keep a record of each chamber's age and mileage.
- Set a fixed replacement interval for spring brake chambers to avoid roadside failures.
- Make sure the air dryer is functioning properly so excessive moisture does not enter the system.
- Inspect for physical damage — a bent clamp or a dented housing creates a path for air to escape.
- Keep the vent holes clear; mud and debris can plug them, trapping pressure inside and accelerating diaphragm wear.
- When you replace a chamber, thoroughly clean the mounting surface, use new hardware if the old bolts are corroded, and torque the clamp bolts to the manufacturer's specification.
“
Final Takeaway
If your truck has a brake chamber leaking air, do not delay the repair. The diaphragm that fails inside the chamber is a critical safety component. The leak is a direct signal that the chamber no longer maintains the right pressure differential. Replace it with the correct part, inspect the surrounding brake hardware, and test the system before returning the truck to service.



 (+86)-137 5851 1881





 English
 中文简体
中文简体 русский
 عربى
عربى